Wednesday, 27 April 2016

ARTWORK PROGRESS: Positioning of the figure

The goal for the positioning of the form was to give a sense of literal weight and a sense of personal struggle.
For the sense of personal struggle I chose to position the form in a sitting position. On the cusp between defeat and triump. The form could stand OR fall.


ABOVE: the final chosen position


ABOVE: due to the articulated nature of the form the body could be positioned into naturalistic positions and be self supported. These are two experiments with posturing


ABOVE: to position the form, the suitcase was used as a support unit it was balanced enough to take its own weight.

Source: http://www.kansasviking.com/images_faith/Humility.jpg


ABOVE: final positioning of the figure


Tuesday, 19 April 2016

HOW TO: Recess a timber joint with a circular saw


HOW TO: Recess a timber joint with a circular saw

You will need:
Set square
Vice
Circular saw

Step 1: mark out the area to be recessed


Step 2: Clamp the timber making sure you use scrap wood so that the jaws of the vice do not bruse, scratch or crush the piece.


Step 3: Set the depth of circular saw to the depth of the cut


Step 4: Make consecutive cuts about 4mm apart, starting from the outside of the are to be recessed.  


Step 5: run the cirular saw backwards and forwards removing any stubs left over from the initial cuts


Step 6: Check the width of the cut to make sure that it is a tight fit.You may need to increase the width of the cut, but be careful as a tighter fit is better than a sloppy one.


HOW TO: Nail into thin timber

Nailing into thin timber 
For this project the intention was to create hands for the figure, to do this nailing into the thinner timber strips is required. This post will briefly discuss the process.


Step 1: Template
Trace around your hand carefully onto a piece of paper, one hand can be the template for both
For this project a geometric abstraction drawing was made to use as a template (top right of the BELOW image.


Step 2: Cutting
Mark out and cut the pieces that will make up the hand. Position the pieces to make sure that the are the right length and that there is sufficient clearance for the motion in the wrist


Step 3: Nail placement
Lay out the nails ontop of the pieces to prevent nails from hitting each other and to make sure there are sufficient nails to hold the form together


Step 4: Nailing
The process will be working from the center of the hand and working outward.
Clamp the piece of wood to be nailed in a vice, making sure that scrap timber is between the jaws and the timber to prevent damage. NOTE: be careful not to put two nails on the same grain or the timber will split


when doing the first strip, hammer the nails in just enough so that sharp tip is penetrating the edge

Step 5: Continue
Continue the above process until both hands are completed


HOW TO : articulated joints with timber

All of the joints share a similar construction pricipal. To maintain an overall aesthetic which mirrored the timber frame of a house the timber used was the same width. Variations in length and combinations of the lengths determined range of motion


ABOVE : this is the general design pricipal for the joints . Two smaller pieces of timber clamping two larger pieces of timber


ABOVE: shoulder and hip joints. These have two points of articulation allowing 180' and 360' of motion


BELOW: Knee and elbow joints
These allow limited range of motion. The small piece of timber running horizontally prevent the range of motion going beyond 90'


General fabrication process

Step 1: Template and preperation
A full scale template layed down on a table. Measurements will be taken from this drawing and as construction takes place the piece can be lay down ontop to monitor progress
Knowing that the timber being used would be the same width, a large amount of timber was also prepared


Timber strip preperation using table saw to cut up lengths of 2 x 4 


Step 2:Joints
 Create all of the joints (click here for Joint creation post )


Step 3: Feet and torso 


Step 4: Head and hands
click here for Nailing into thin timber post 


Step 5: Attaching Nails to Timber strips


Step 6: Assembling the form
Nailing all of the joints together using the thin timber strips being careful to not putting two nails through the same grain on the timber, which results in splitting.


Sunday, 17 April 2016

Week 7 Presentation notes

The conflict within Us

Key concept and potential title: The conflict within Us

The Conflict within Us
14We know that the Law is spiritual; but I am unspiritual, sold as a slave to sin.  15I do not understand what I do; for I don't do what I would like to do, but instead I do what I hate.  16Since what I do is what I don't want to do, this shows that I agree that the Law is right.  17So I am not really the one who does this thing; rather it is the sin that lives in me.  18I know that good does not live in me — that is, in my human nature. For even though the desire to do good is in me, I am not able to do it.  19I don't do the good I want to do; instead, I do the evil that I do not want to do.  20If I do what I don't want to do, this means that I am no longer the one who does it; instead, it is the sin that lives in me.
21So I find that this law is at work: when I want to do what is good, what is evil is the only choice I have.  22My inner being delights in the law of God.  23But I see a different law at work in my body — a law that fights against the law which my mind approves of. It makes me a prisoner to the law of sin which is at work in my body.  24What an unhappy man I am! Who will rescue me from this body that is taking me to death?  25Thanks be to God, who does this through our Lord Jesus Christ!

This, then, is my condition: on my own I can serve God's law only with my mind, while my human nature serves the law of sin.    Romans  7:14 GNB

To explore this concept there are two key elements to this work. One being the constructed human form, the other is light. It is the tension and play between the light and the constructed form that creates a dialogue. 


This conceptual focus was influenced by the week 1 lecture on  Fabrication introduction with reference to the way that we build houses within australia in regards to minimal materials for construction. And discussions with the theory lecturer Nasan Pathar(western art history) regarding the nature of western society and theorists, such as michael focult, built their theory and critique of society under the assumption that humanity is inherently good. In this work I am starting with the assumption that on a fundamental level, we are completely disconnected from the environment and we are inherently sinful by nature.(note the is a difference from evil and sinful).
 And explore this through the use of materials and the human form to create a discussion on our connection to environment and the spaces we create.

This work is also making references medieval arts and belief regarding claritas and light as god through the use of a solar light.  

Indicate research.
  • Australian timber frame construction techniques - Videos on blog post
  • Timber frame materials, types of timber, and joining methods
  • Standard lighting fixtures, and solar lights
  • Geometric drawing methods of human anatomy
  • Artists using the human form and geometry Alex Milov's love, Antory Gormley  Waste Man 
  • Artists using light and the sculptural form. Paige Bradley Expansion Stephen Shaheen  Lets put our heads together  Mona Hatoum light sentence,
notes about the figures form posture and other considerations
Note that the figures proportions will be based on my own, which is a reoccuring theme within my work to use my own body as the basis. And in a sense a level of accountablility and momento mori.
Also note that this artwork for presentation is not resolved, particularly in the use of a 'found' chair.


Briefly discuss construction methods
1. Sourcing of materials
  • Bunnings for timber and nails
  • Kmart for solar light, pottsville community center for the light and electrical compliance sticker
2. Preperation of materials before construction
3. Process of construction
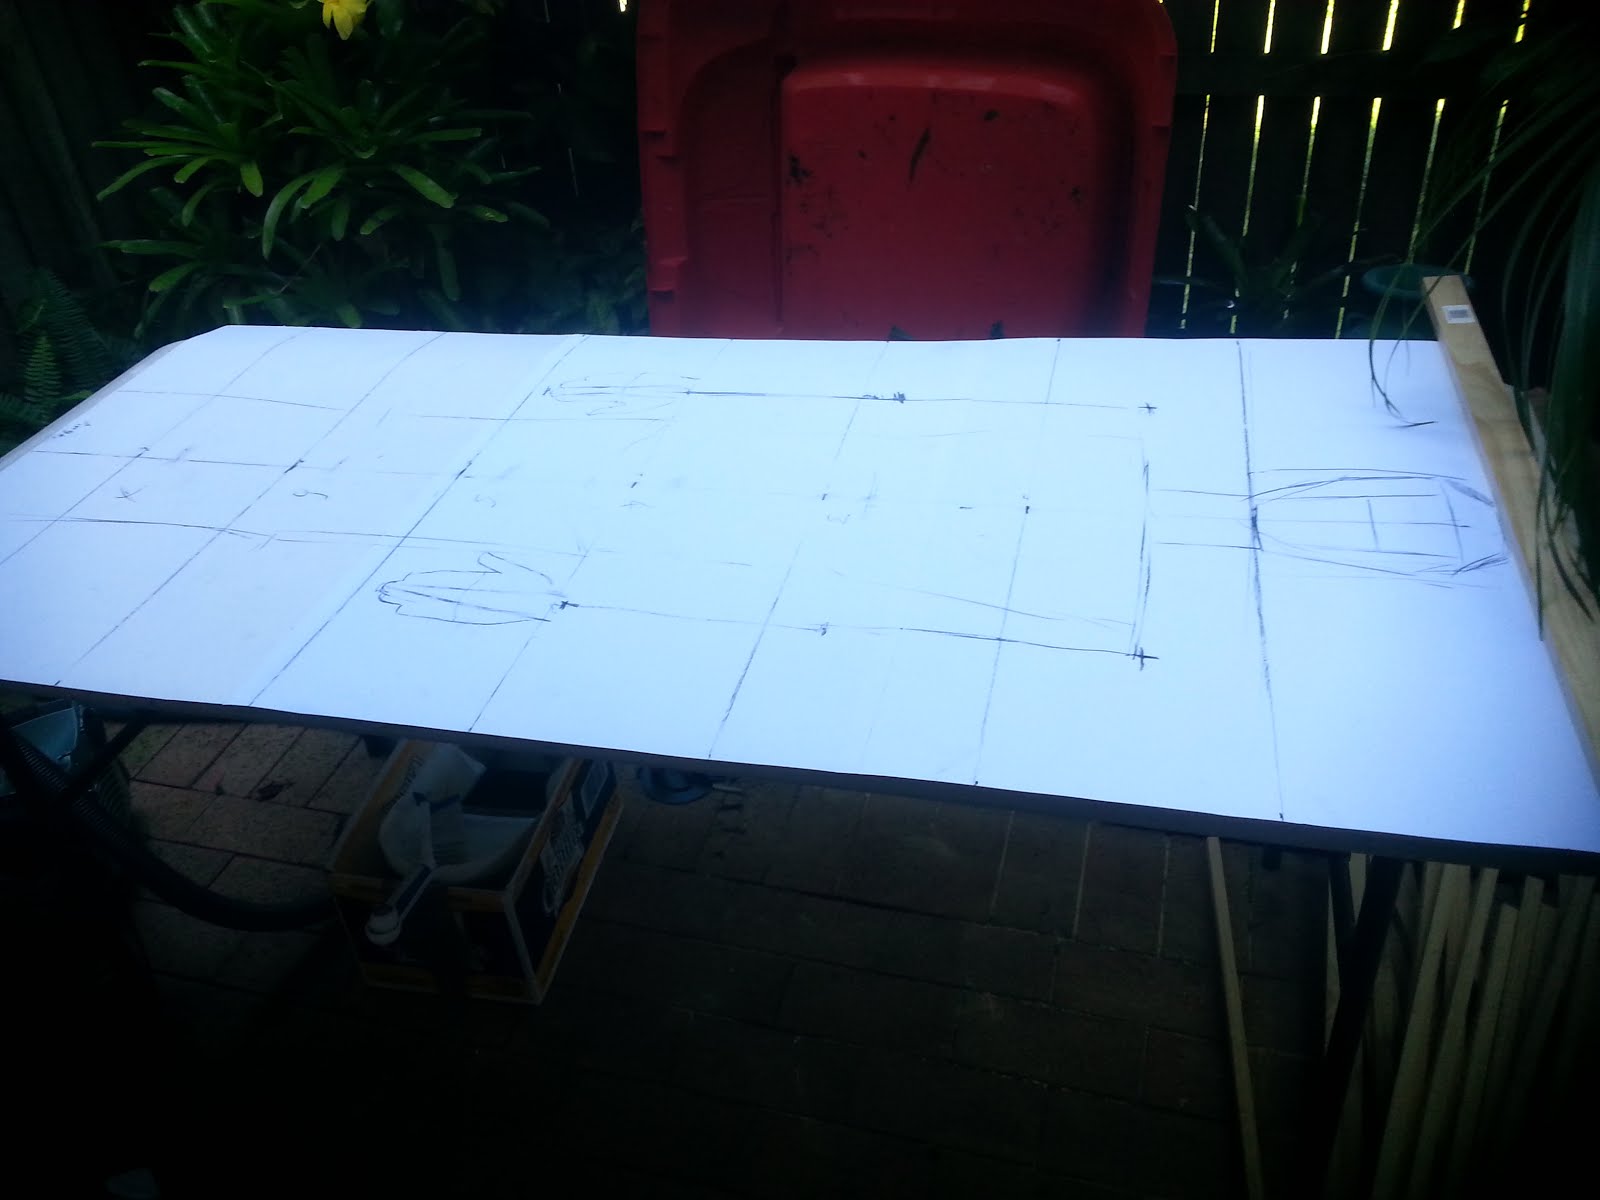
  • using my own proportions as a guide a scale template was made to aid construction 
  • creation of the articulated joints
  • creation of the feet hands and head
  • hammering of nails into the timber strips
  • joining of joints with thin timber strips
  • installation of the lighting
  • positioning and locking of the joints

Briefly discuss important features and issues
  • Articulated Joints ( show joint and discuss )
  • Hammering into the timber, issues faced, counter sunk joints (show broken joint )
  • aesthetic considerations - not cleaning up the cuts and the need for perfection, rushed construction techniques).  


    Discuss materials pertinent to the project:

    • The timber/geometric just as we are organic our physicality is disperate from nature
      The form/materiality will mirror the timber frame of houses, the bare minimum of materials, form ply, structural pine, screws, nails, bolts and metal ribbon.


    Formulate a timeline for completion.

    • Week 4: Research into movable joints and construction methods.
    • Week 5: Experiment with construction of joints. Continued research.
    • Week 6: Begin production of figure. Continued research.
    • Week 7: Assessment item 1 Due.
    • Week 8: Continue creating final work.
    • Week 9:Continue creating final work.
    • Week 10: Continue creating final work.
    • Week 11: Continue creating final work.
    • Week 12: Finish creating final work. Consider final presentations mode/s.
    • Week 13: Assessment item 2 Due.

    Dictate solutions for professional presentation.

    • The intention is to display the artwork in the dark room. This will allow the light within the artwork to 'play' within the space. The figure will be seated on a chair, in the center of the room.  

    Thursday, 7 April 2016

    Drawing preperation

    Preperation images to use as aesthetic and technical considerations in construction.

    The above was the preperation drawing that was used as a visual aid for the creation of the sculpture

    The following images were used as aesthetic and technical guides click here for image sources and further details